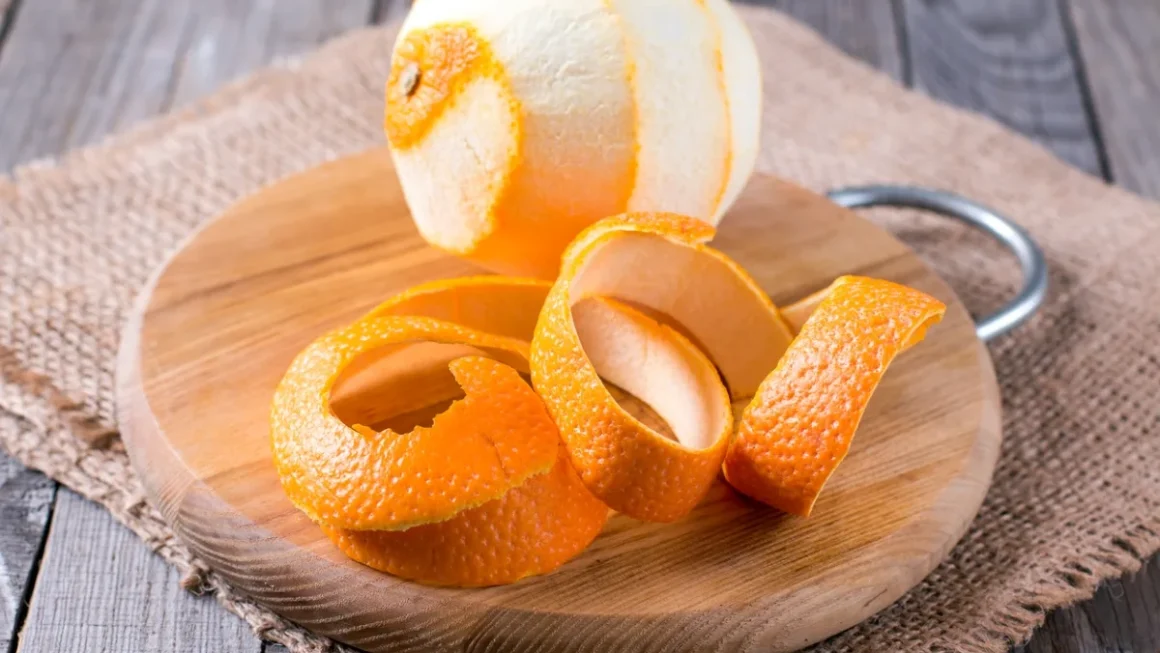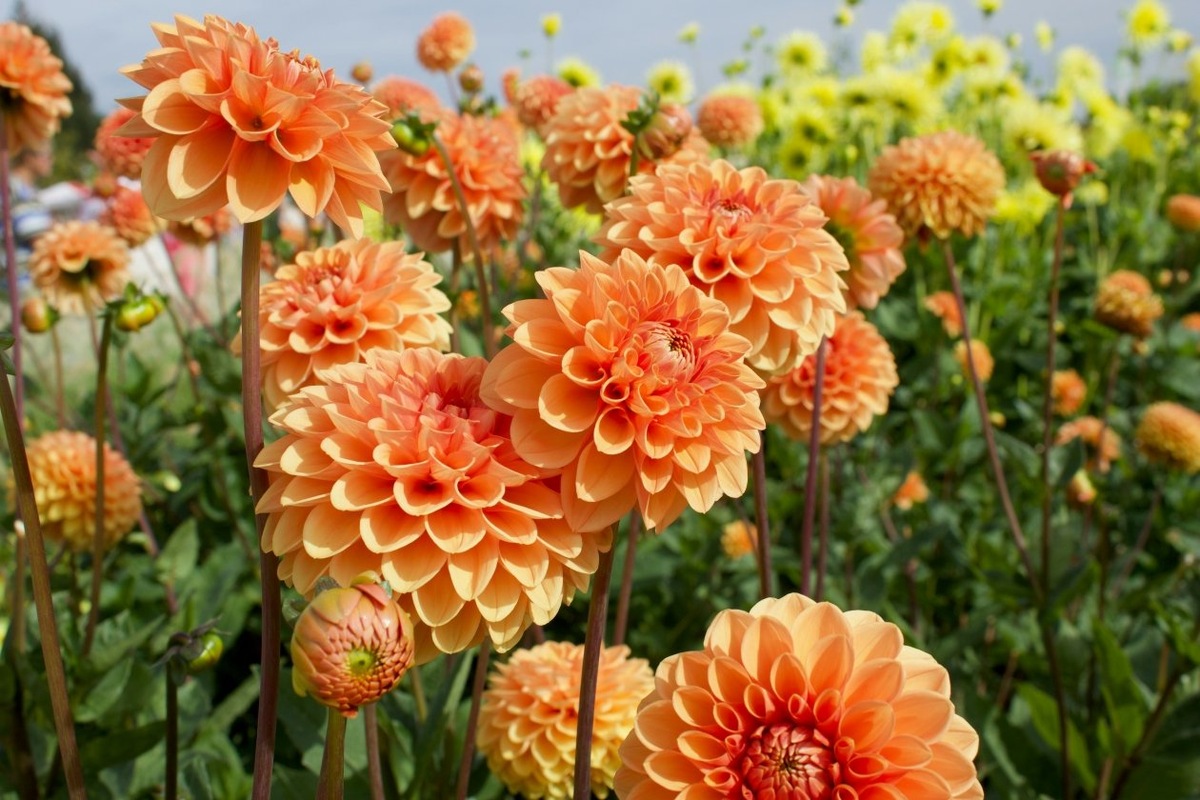
As winter approaches, the flamboyant display of dahlias in our gardens is coming to an end.
Native to Mexico, these sumptuous flowers are not equipped to withstand the rigours of our temperate climates. As 13 October 2025 approaches, a silent threat looms: the first frosts. A single action, taken at the right time, can make all the difference between losing your precious tubers and seeing them return triumphantly the following spring. This is not just a simple gardening task, but a real rescue operation to preserve the beauty of your garden for the coming year.
Understanding the threat of frost to dahlias
Exotic origins and sensitivity to cold
Dahlias, with their infinite shapes and colours, come to us from the high plateaus of Mexico. This geographical origin explains their great vulnerability to cold. Unlike the hardy perennials of our regions, their fleshy tubers are full of water and have no natural protection against frost. When the temperature drops below 0°C, the water contained in the cells of the tubers freezes, expands and bursts the cell walls. This process causes irreversible damage and leads to the rapid decomposition of the tuber.
The first tell-tale signs
Fortunately, nature sends clear signals. The very first frost, often referred to as ‘white frost’, is the main indicator. You will notice that the foliage of your dahlias suddenly becomes limp, as if it had been scalded, before turning completely black within a few hours. This blackening is a sign that the above-ground part of the plant has been destroyed. This is the starting signal: it is time to take action to protect the underground part, the tuber, which contains all the reserves necessary for the plant to rebirth in the spring.
The consequences of inaction
Ignoring these warnings and leaving the tubers in the ground in a region with harsh winters is tantamount to condemning them. If the soil freezes deeply, the tubers will suffer the same fate as the foliage. They will turn into a soft, rotting mass. In spring, no matter how much you hope, nothing will come up. The loss will be total, and you will have to buy new plants to fill the void left by these magnificent flowers.
This understanding of the vulnerability of dahlias naturally leads us to the crucial question of when and how to protect them.
When and how to prepare your dahlias for winter
The forward-thinking gardener’s calendar
The ideal time to take action is just after the first significant frost, the one that has blackened the foliage. Acting before this is not optimal, as the plant continues to accumulate reserves in its tuber until its leaves are destroyed by the cold. Acting too late, on the other hand, exposes the tubers to the risk of freezing in the ground. The best time to take action is therefore generally between the end of October and mid-November, depending on your region and the weather conditions for the year.
Preparatory cutting: an essential step
Once the foliage has been scorched by frost, the first step is to cut the stems. Use clean, sharp secateurs to make a clean cut. It is advisable to leave a section of stem about 15 to 20 centimetres above the ground. This ‘handle’ will make it much easier to handle the tubers when digging them up and will serve as a marker. It also prevents rainwater from seeping directly into the neck of the tuber, which could cause premature rot.
Once the stems have been shortened, there are several protection strategies you can consider, depending on how harsh the climate is in your area.
Practical tips for effectively protecting your dahlias
Protection through mulching for mild climates
In regions where winters are mild and frosts are rare and not very intense (such as the Mediterranean coast or the Atlantic coast), it is possible to leave the tubers in the ground. However, surface protection is essential. After cutting the stems, cover the stump generously with a thick layer of protective mulch. The most effective materials are:
- Dead, dry leaves
- Straw
- Fern fronds
- Well-decomposed compost
This layer, at least 20 centimetres thick, will act as insulation, protecting the tuber from brief cold spells.
Winter fleece: an extra barrier
For added security, especially if a more severe cold spell is forecast, you can supplement the mulch with a winter fleece. This non-woven, air-permeable fabric provides a few precious extra degrees while preventing condensation and rot. Simply place it on top of the mulch and hold it in place with a few stones or garden staples.
However, in areas where frosts are severe and prolonged, these surface protections are often insufficient. In this case, digging up the tubers is the only viable option to ensure their survival.
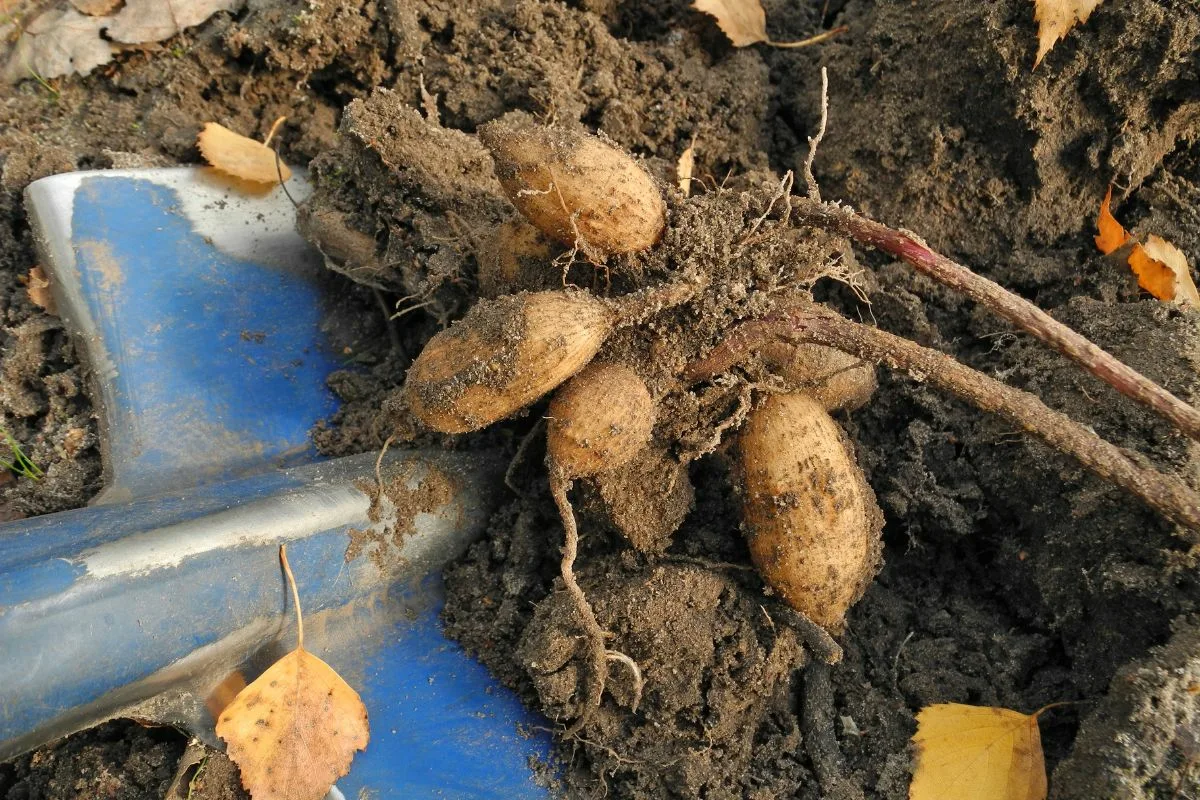
Digging up tubers without damaging them
The right tool for the job
Digging up tubers is a delicate operation and requires the right tool. The spading fork is the gardener’s essential ally for this task. Unlike a conventional spade, whose blade can easily cut through a tuber, the tines of the fork allow you to lift the clod of earth without damaging the precious tuberous roots. A damaged tuber is a gateway for disease and rot during the winter.
The steps to successful harvesting
To extract the tubers safely, a specific method must be followed. Patience and gentleness are the key words. Here are the steps to follow:
- Plant the digging fork at a respectable distance from the stem (about 20-30 cm) so as not to risk piercing the tubers.
- Go around the plant, pushing the tool into the ground and using a slight levering motion to loosen the soil around the stump.
- Once the root ball is well loosened, gently lift it out of the ground using the portion of stem left previously.
- Shake the root ball gently to remove most of the soil. Avoid knocking the tubers against each other or against the tool, as they are very fragile.
Once the precious tubers have been carefully extracted from the soil, the battle is not yet won. Storing them during the long winter months is an equally critical step.
Store the tubers carefully for optimal preservation
Cleaning and drying: a crucial phase
Before storing, thorough cleaning is essential. Using a soft brush, gently remove any remaining soil. Washing them with lots of water is strongly discouraged, as excess moisture promotes the development of rot. Once brushed, leave the tubers to dry for several days in a well-ventilated, dry and frost-free place, such as a garage or garden shed. This drying period allows the skin to harden and any small wounds to heal.
Ideal storage conditions
The storage location is crucial for the survival of dahlias. It must be:
- Cool: the ideal temperature is between 5°C and 10°C.
- Dark: light could trigger early germination.
- Dry but not too dry: an atmosphere that is too humid promotes rot, while an atmosphere that is too dry can dry out the tubers.
- Frost-free: this is an essential condition.
An unheated garage, a dry cellar or a storeroom are often ideal locations.
Comparison table of storage methods
There are several techniques for storing tubers. The choice depends on the equipment you have available and the conditions in your storage area.
In crates filled with sand or dry peat Excellent insulation, maintains stable humidity. Quite heavy and can generate dust.
Individually wrapped in newspaper Economical, simple, allows diseased tubers to be isolated from others. The paper can retain moisture if not changed.
Bare in wooden or plastic crates Very good ventilation, easy to monitor. Risk of drying out if the air is too dry.
Successful storage guarantees healthy tubers in the spring, ready to begin a new life cycle.
Ensuring the return of vibrant dahlias in the spring
Winter inspection: necessary monitoring
Winter storage is not a time to be completely forgotten. It is a good idea to check your tubers once a month. This quick inspection allows you to check their condition. Immediately remove any tubers that show signs of mould or rot to prevent contamination of the others. If you notice that they are starting to wrinkle, a sign of drying out, you can very lightly moisten the storage medium (sand or peat) with a spray bottle.
Preparing for replanting
As soon as the first signs of spring appear, usually in March or April depending on the region, it’s time to prepare for the big return to the garden. Take your tubers out of storage and place them in a slightly brighter and warmer spot (around 15°C). You can place them on a bed of slightly damp compost to stimulate bud growth. This is also a good time to divide the largest tubers if you want to multiply your plants. Planting in the ground should only take place after the last frosts, when the soil is warm enough.
These simple but essential steps will ensure that your dahlias continue to flourish year after year. By taking the time to protect them from the cold, you will be rewarded with an even more spectacular display of flowers when the warm weather returns. The care you give them in autumn is the best gift you can give your garden for next spring.